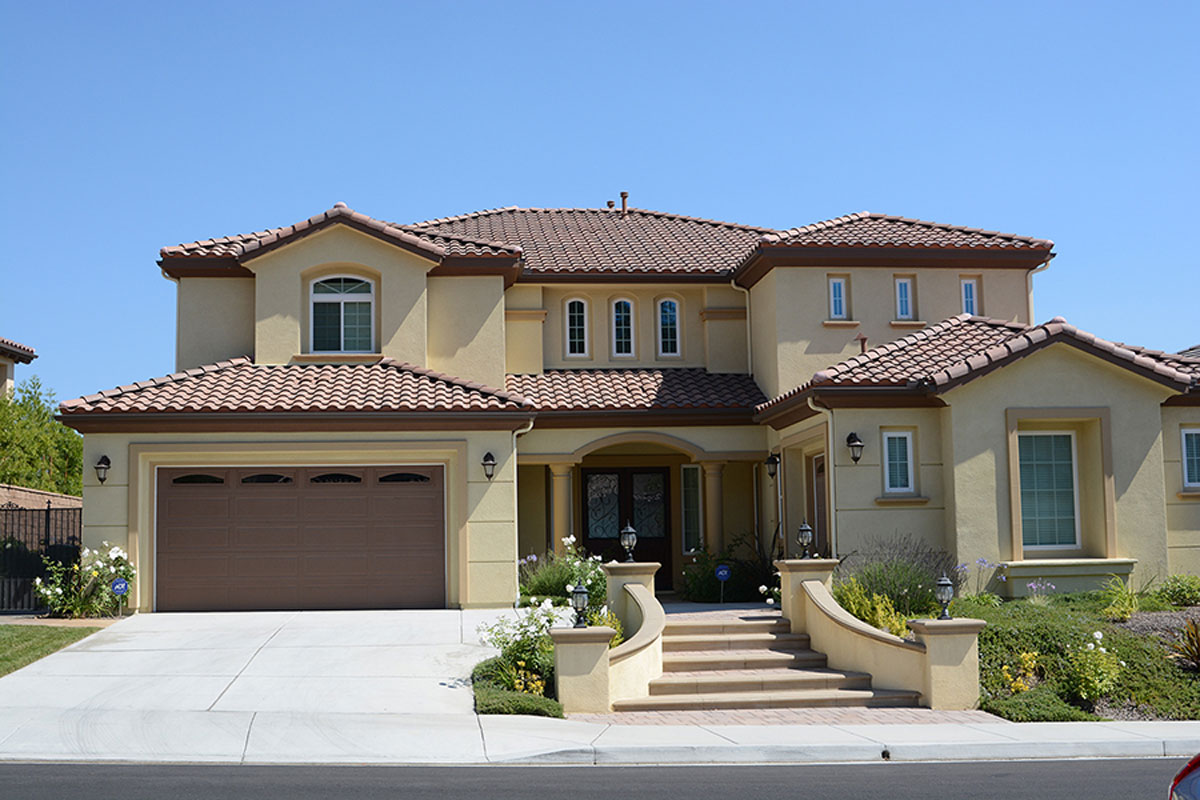
It is very common to find the in many of today’s modern homes. It is highly water resistant and very structurally sound, consisting of about an inch thick layer of cement on the exterior of the home.
Basically the three coat system consists of paper and wire, a scratch coat, a brown coat and a finish, or “top” coat. This is why it is called a three coat system, lath, scratch and brown. The finish coat is not considered a step because it is needed on every type of application that is used, so they are mainly referring to the stages up until the finish coat.
The Lath…
The lath used in this particular system is very basic and consists of asphalt infused paper, metal wire and some other accessories, such as weep screed, corner aid and plaster stop. The very first step is to install all of the necessary weep screed and plaster stop where it is needed. Weep screed is always found at the bottom of a wall and hangs a little lower than the shear. This is to prevent the plywood from absorbing any moisture that may come in contact with the wall, whether it is caused by rain, sprinklers or from a garden hose.
After that, the paper goes on the wall to protect the under-layment (wood in particular, masonry surfaces do not need paper) and is installed from the bottom up, to allow water to drain along the paper without ever touching the wood underneath. This paper should be overlapping on all edges at least 6 inches for adequate protection.
The Paper And Wire In Three Coat Stucco System
Next comes the wire. The wire is a 17 gauge chicken wire type of netting, but has some unique characteristics to it that allows the cement to tie into it.
The wire is furred (which means that it sticks off of the wall a little bit) which allows the cement to “mushroom” behind it and makes the wire and cement all one solid component.
If you were to use regular chicken wire, the mud would not stick as well and may even fall off of the wall in some areas. So only use the specified 17 gauge, self furred stucco netting.
After you have put up the wire, it is time to add the corner aid and arch aid where they are needed. These are basically stronger pieces of wire components that are fastened with nails and/or staples that strengthen corners, arches and curved edges. They are used on virtually every house and are the main components that form the edges of stucco walls.
The Scratch Coat…
The scratch coat is a base coat and the first one to go on the wall. It is applied with a hawk and trowel and a scratcher. The cement is spread evenly among the surface at a depth of about 3/8 of an inch thick.
Scratcher Used In Scratch Coat
After the cement is on the wall, a scratcher is used to make horizontal lines in the stucco mix, in order for the next coat (the brown coat) to stick to it.
This process can take some time and patience, but is not too difficult to do, in fact it is the easiest process out of all of the base/finish coats.
The Brown Coat…
This coat is applied after the scratch coat and is applied using the same techniques that were used on the scratch coat. Instead of using a scratcher, an instrument called a “darby” is used instead.
A “darby” is really just a three foot long trowel with two handles mounted on it so the user can grip it firmly. The “darby” pushes the cement around to make sure the brown coat is even and uniform. This coat is roughly 3/8 of an inch thick, like the scratch coat.
The Finish Coat…
The final step in the process is the finish or top coat. This is applied with a hawk and trowel usually (depending on the finish) and can be customized a number of different ways using several different techniques.
There are two main types of material used in stucco finishes, synthetic (or acrylic) stucco and traditional stucco.
